Create Your Own Icon Sets for the SVG Forge Icon Manager
The SVG Forge Icon Manager is a Gutenberg plugin for WordPress: an “SVG Icon” block inserts icons via <use> from a central SVG sprite file into your content. The plugin is deliberately not an icon collection with an import UI — every icon must exist as a <symbol> element in a sprite file that you build, maintain, and version yourself.
This article shows you how to create your own icon set: create a folder full of SVG files, build them with svgforge-cli into a sprite file in one line, and hook it into the plugin. Including the directory-marker trick, which turns your subfolders into filter groups in the icon picker automatically.
As a reference, we use the example repo svgforge/default-icons: it contains two ready-made icon sets with a build configuration and shows the structure your own set should have.
How an Icon Set Is Structured
In its simplest form, an icon set is a folder with SVG files; subfolders form categories:
assets/
├── actions/
│   ├── add_circle.svg
│   └── delete.svg
└── navigation/
    ├── arrow_back.svg
    └── home.svg
svgforge-cli converts each SVG file into a <symbol id="…" viewBox="…"> inside a central sprite.svg. The sprite structure is simple — exactly what the plugin expects:
<svg xmlns="http://www.w3.org/2000/svg">
  <symbol id="actions--add_circle" viewBox="0 -960 960 960">
    <path d="M440-280h80v-160…"/>
  </symbol>
  <symbol id="navigation--home" viewBox="0 -960 960 960">
    <path d="M240-200h120v-200h240v200h…"/>
  </symbol>
</svg>
The editor loads this sprite, shows each <symbol> as a clickable icon, and later references the selected icon as <use href="sprite.svg#actions--add_circle">. The -- notation in the IDs is the link to the picker: the first part (actions) becomes a filter group there.
Step 1: Install svgforge-cli
npm install --global @svgforge/svgforge-clisvgforge-cli sanitizes the SVGs (removes scripts, event handlers, javascript: links) and optimizes them with SVGO — the very sprite that the plugin additionally re-checks on upload as a safety net.
Step 2: Create Your Icon Folder
Create a folder with your SVG files and sort them into subfolders as you like. The folder name later becomes the group name in the picker — so choose a descriptive name:
assets/
├── actions/
│   └── add_circle.svg
└── communication/
    └── mail.svg
Step 3: The Directory-Marker Trick
The build command looks like this:
svgforge --symbol --dest=out 'assets/./**/*.svg'The trick is the ./ right in the middle of the glob: it is the directory marker. Everything before it is only the base from which the icon ID is calculated. Without the marker, the base folder name would bleed into every ID:
| Glob | Icon ID | Group |
|---|---|---|
assets/**/*.svg |
assets--actions--add_circle |
assets (single, useless group) |
assets/./**/*.svg |
actions--add_circle |
actions |
With ./, you get compact IDs like actions--add_circle from assets/actions/add_circle.svg. The base name assets disappears, and each subfolder level becomes a -- segment — the picker turns it into the group filter. Without the marker, all icons would share the identical assets-- prefix and the filter would be useless.
Step 4: Generate the Sprite
svgforge --symbol --dest=out 'assets/./**/*.svg'After the run, the finished sprite lives at out/symbol/sprite.svg. If you prefer working with configuration files instead (for example, to remove the fill attribute), take a look at the material.json in the default-icons repository:
{
  "dest": "./dist/material",
  "shape": {
    "transform": [
      {
        "svgo": {
          "plugins": [
            { "name": "removeAttrs", "params": { "attrs": "fill" } }
          ]
        }
      }
    ]
  },
  "mode": {
    "symbol": { "sprite": "sprite.svg", "render": { "css": false } }
  }
}
This lets you run set-wide transformations — in the example, the fill attribute of all Material icons is removed so they stay monochrome and can be colored via the block’s color controller.
Step 5: Hand the Sprite to the Plugin
There are two sensible ways. The filter is recommended because the file then lives in the theme repo and is versioned along with it (if you use Git) — in functions.php:
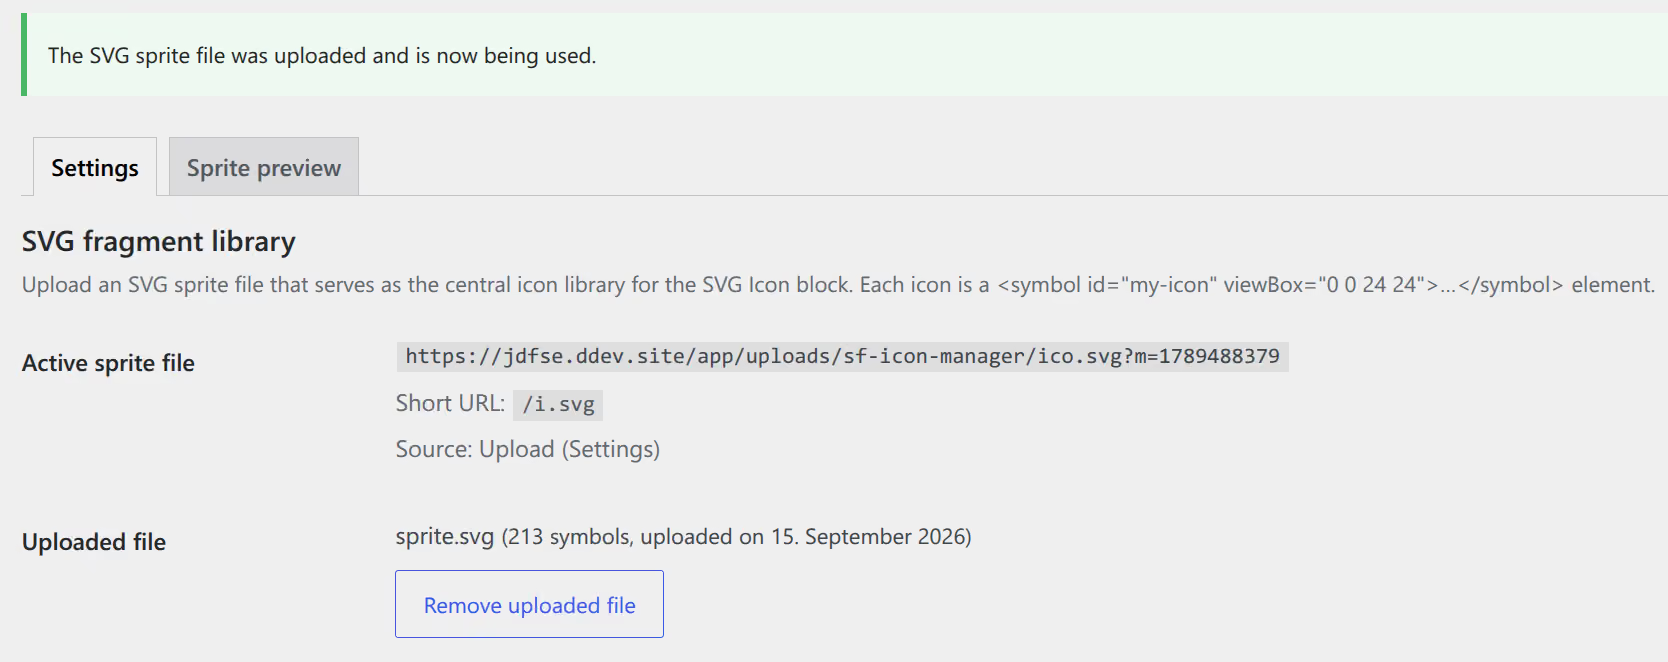
add_filter( 'sfim_sprite_url', fn () => get_theme_file_uri( 'assets/ico.svg' ) );The filter wins against everything else, including an upload. Alternatively, you can upload the file via Settings → SVG Forge Icon Manager in the backend (the plugin settings page calls it “SVG fragment library”). The plugin detects the <symbol> elements immediately.
Step 6: Use Icons in the Editor
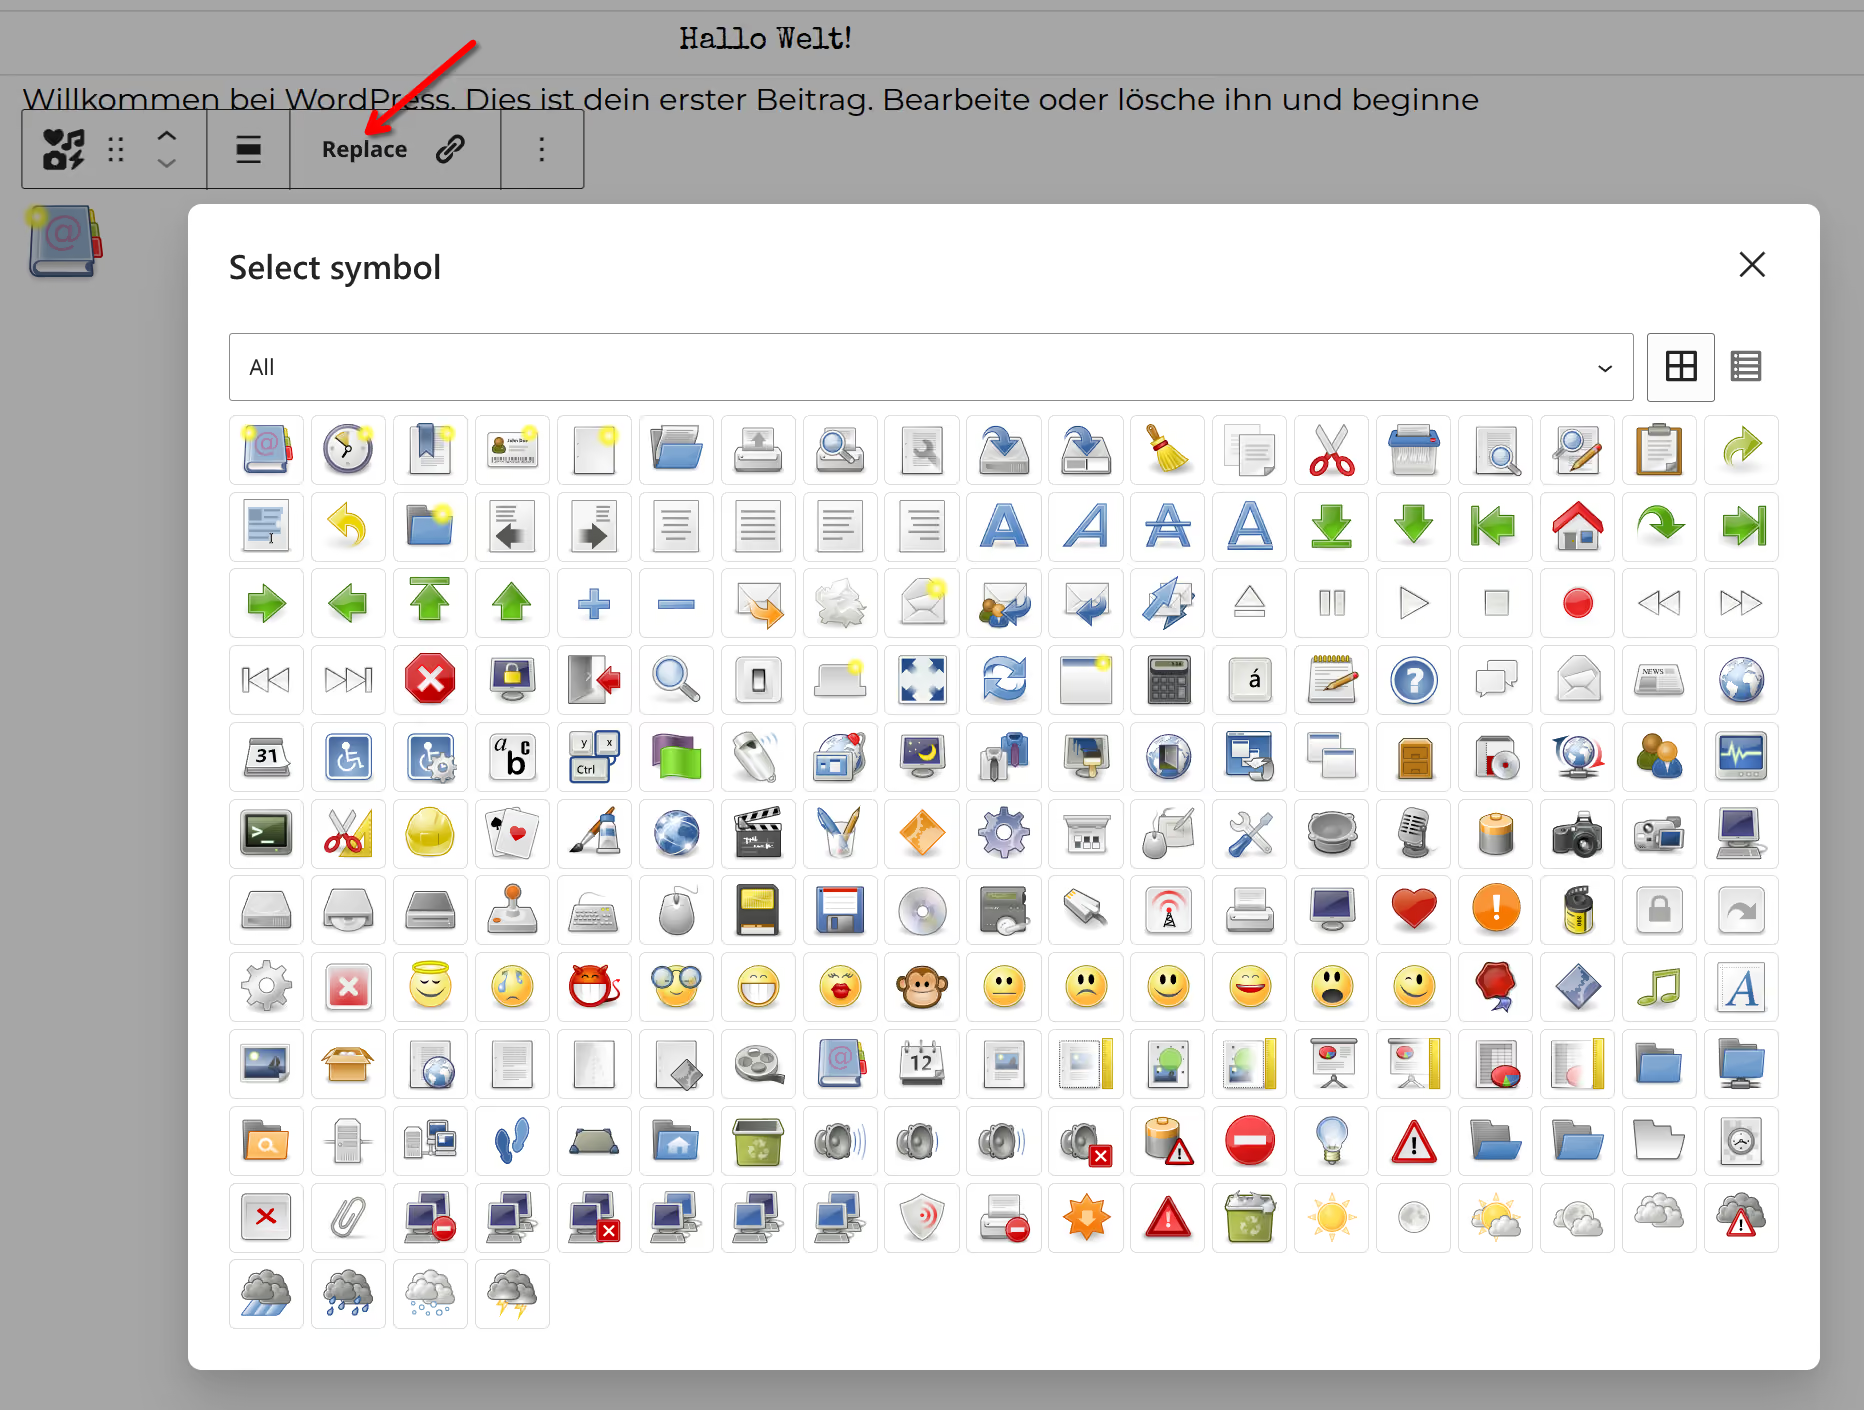
Add the SVG Icon block, click “Replace”, and pick an icon from the picker. The picker shows all <symbol> elements with a live preview, offers a group filter (if subdirectories were used) and a grid/list view. You configure color (Fill/Stroke), size (standard dimensions panel with preset slider), and links per block.
Reference: svgforge/default-icons
The svgforge/default-icons repo is a ready-made example for exactly this pipeline:
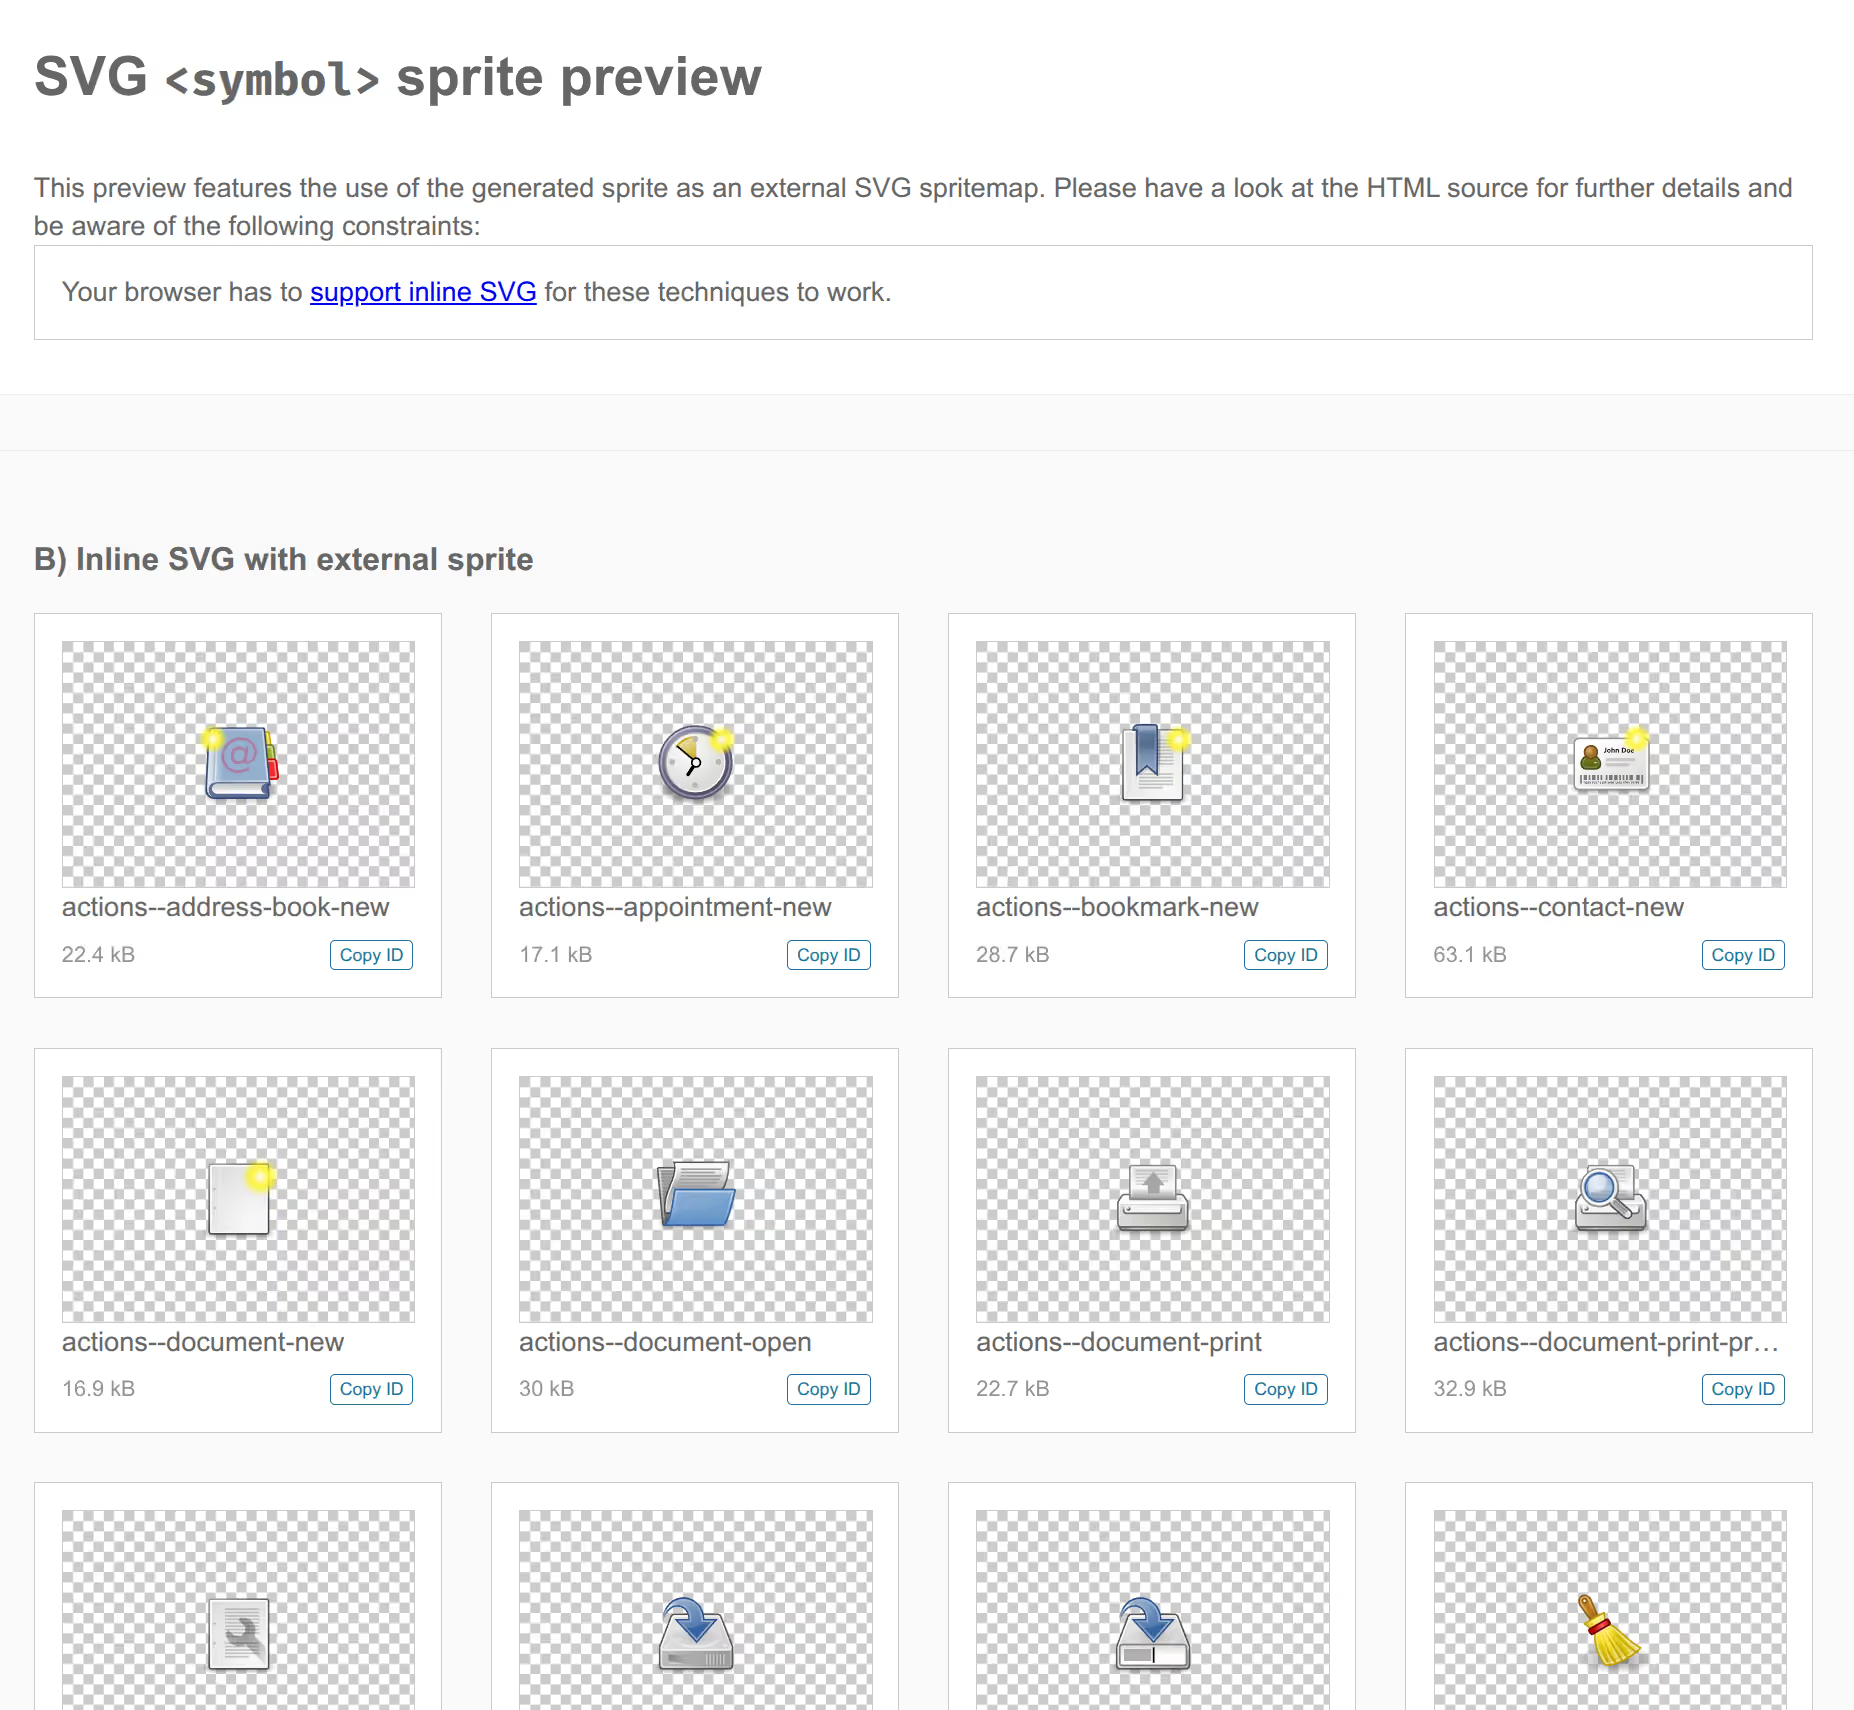
material/— 34 monochrome Material icons (Apache 2.0, via Google Fonts) in six categories (actions,communication,content,navigation,people,status). The trick (removingfillvia config) makes them colorable throughcurrentColor.tango/— 213 multicolored Tango icons (Public Domain) in nine categories (actions,apps,categories,devices,emblems,emotes,mimetypes,places,status).- Build:
build.shcallssvgforge -C material.json 'material/./**/*.svg'(and analogouslytango.json) and then starts a local preview server. The finished sprites live atdist/<set>/symbol/sprite.svg; theexample: trueflag additionally generates an HTML preview of the whole group.
So you can also download a set directly and hook it into the plugin without building it yourself.
Monochrome or Multicolored?
The plugin distinguishes automatically: multicolored sets (like Tango) keep their built-in colors — the color controller has no visible effect there. Monochrome icons (fill: currentColor or no fixed fill) follow the block’s chosen color — that is the basis of the Material configuration above, which consistently removes fill.
Conclusion
A custom icon set is therefore: a folder with SVG files, a build command with the ./ directory marker, and an upload (or a filter) in the plugin. The subfolders automatically become filter groups in the picker. The structure and configs from svgforge/default-icons serve as a starting point.
Tip: If you work with a CI/CD pipeline, you can add your icons as individual SVGs to your theme. A GitHub workflow generates the sprite.svg during the build — the installable ZIP then contains the theme including the generated sprite.svg.